Percy: Automatic Receipt & Invoice Data Extraction

Percy (percy.app) is a web application that I built from March 2020 to February 2021. It allows accountants to automatically extract financial information from receipts and invoices by simply uploading a photograph of the document. The core technology that makes this happen is the combination of an advanced machine learning optical character recognition engine and a word categorisation system that finds the financial information in the extracted text. This is a challenging task because the most advanced publicly available OCR engines struggle with interpreting the combination of numbers and letters present in receipts. To solve this problem I had to build a smart word categorisation that could understand the nuances of the output from the OCR engine. Overall, I am proud of the product as it does extract financial information accurately for images that are well-lit, taken on a flat surface and are at a high enough definition to be human-readable. If the product were to be continued, I would seek to improve to improve the machine learning system that the OCR engine is built on in order to improve the accuracy of the output. I believe that if this could be improved, it would greatly improve the quality of the financial information extraction system. Truthfully, my work on Percy was not so much an exercise in building financial extraction system as it was learning how to build a fully functional, strongly branded web application from start to finish. For this reason, this blog post will focus on the full-stack development process that I used to create the application. If you wish to test my application yourself before reading this post head over to percy.app, create an account and upload a few receipts/invoices. While building the app I worked hard to ensure that it is completely secure from a cybersecurity perspective so that all users’ personal and financial information is safe.

Origins of Percy: March 2020

The original mission of this application was to utilise the latest developments in machine learning to completely automate all the manual tasks that accounts have to carry out on daily basis. During the summer of 2018 I spent three months working as an intern in the finance team for a start-up called Velocity Black. They had real problems managing the high number of transactions that they handled on a daily basis. For this reason, they heavily relied on interns and accounting assistants to process the receipts and invoices and reconcile bank accounts. The issue was that this is an incredibly boring and difficult task that is hardly fit for humans. Not surprisingly, those that joined the accounting team in these roles did not stay for long. The following year during my internship for Whave in Uganda I saw a similar occurance where an employee had to travel to the head office to spend a day a week adding receipts and invoices to the account software. Seeing the business need for automation in this area I set out to build software that automated these human unfit accounting tasks.

I really wanted my app to have a strong memorable brand. As my software was originally going to be an artificially intelligent accounting assistant, I thought giving it a human name would work well. It is nowadays incredibly hard to find a short memorable domain name, so I spend a while searching for something that worked. I’m certainly happy with the name Percy as it does sound somewhat related to accounting and it is definitely memorable. Conveniently, it is also generalisable enough that I could choose to use this domain-name/brand for a different project in the future if I wish.

Version One

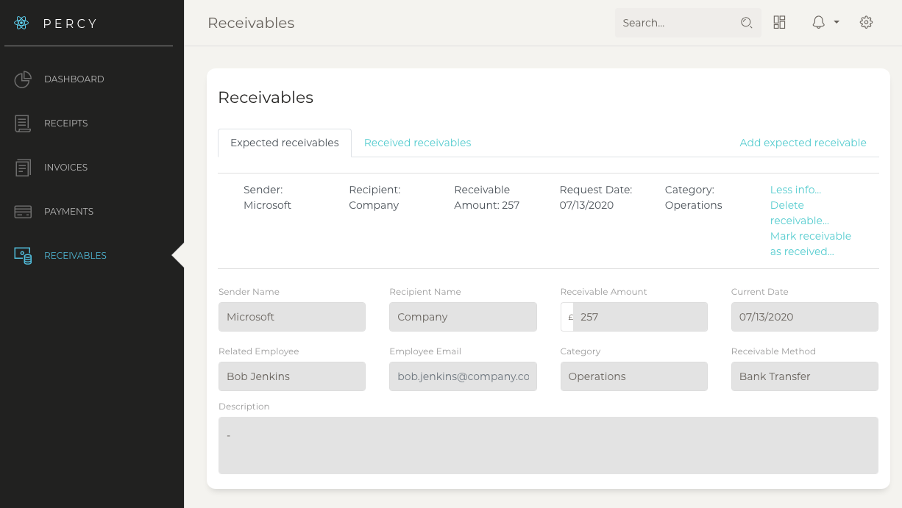
The first version of Percy was a React/Node/Express app that just had the core system. It allowed you to not only extract information from receipts & invoices but also a system for monitoring trade receivables and trade payables. As it did not have a database system yet, the images and extracted text were stored on the server. The hardest part by far of building the react component was dynamically displaying the photos of the extracted receipts with their relevant financial information from the state. This was made increasingly difficult by two functionalities I built, these were: adding and removing rows and displaying errors when the user added the wrong type of information into boxes. This had complicated implications for state management. It culminated in a maze of countless ‘undefined’ errors which I had to navigate through. At the completion of the first version, bugs were still present in the system. However, in later versions I managed to make this intricate system work perfectly and this is something I am proud of. The automated receipt and invoice data extraction system worked by sending the users’ images from the nodejs server to a python flask server, which carried out the OCR and word categorisation processes, and then sent the output as a JSON file back to the nodejs server which saved the outputted text and sent the filepaths to the react component which then displayed the output to the user who could then edit it and add/remove rows.

The Finished Product

After the first version I decided to make Percy only focus on the automated receipt & invoice data extraction component. For this reason I switched from a purely ‘create-react-app’ to a static html website that used an express server, a python flask server, a mongoDB database, and react component embedded into the static html. It could be described as a ‘MERN’ app by web developers.

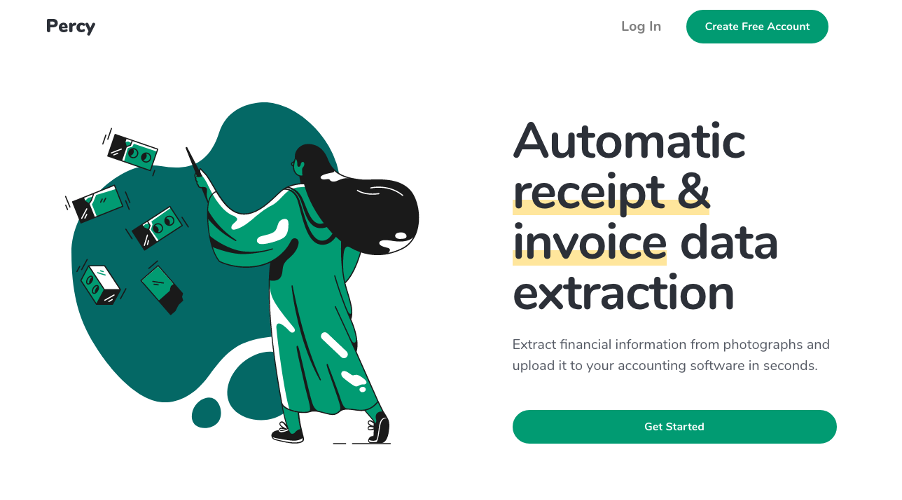
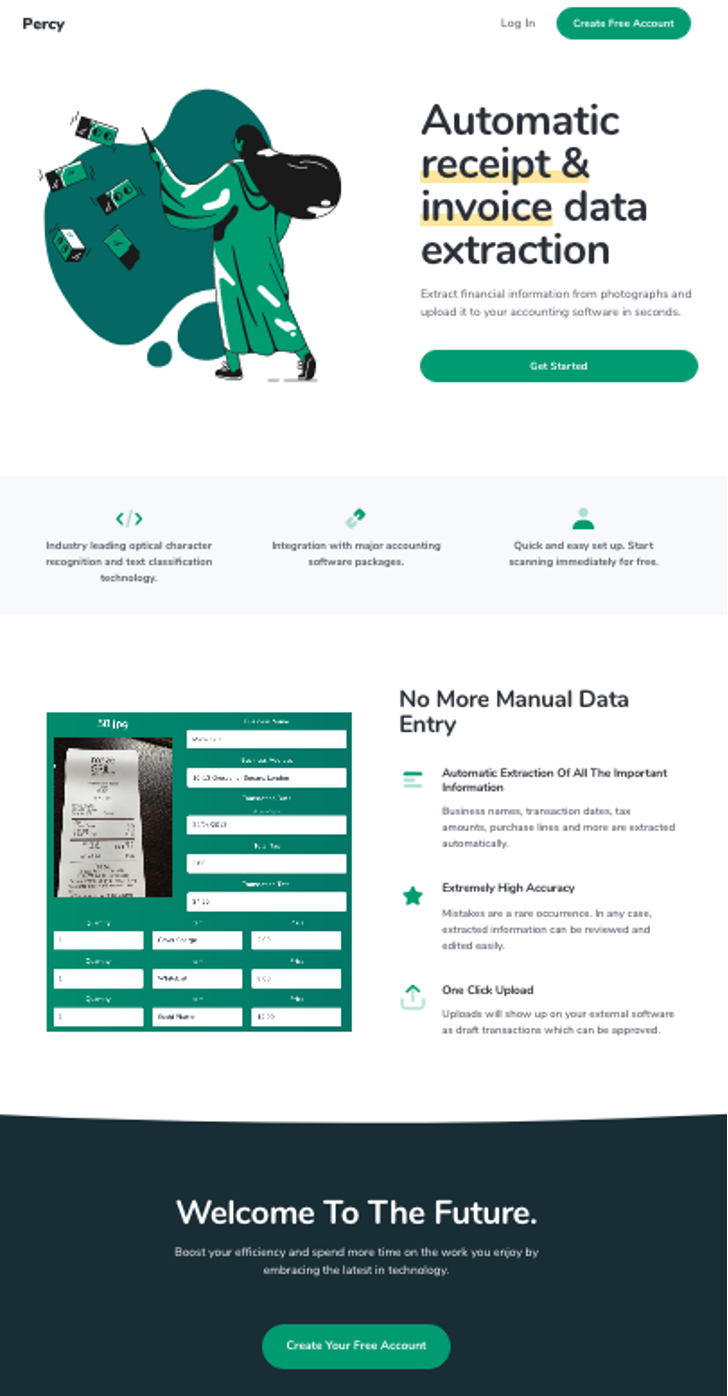
The Homepage
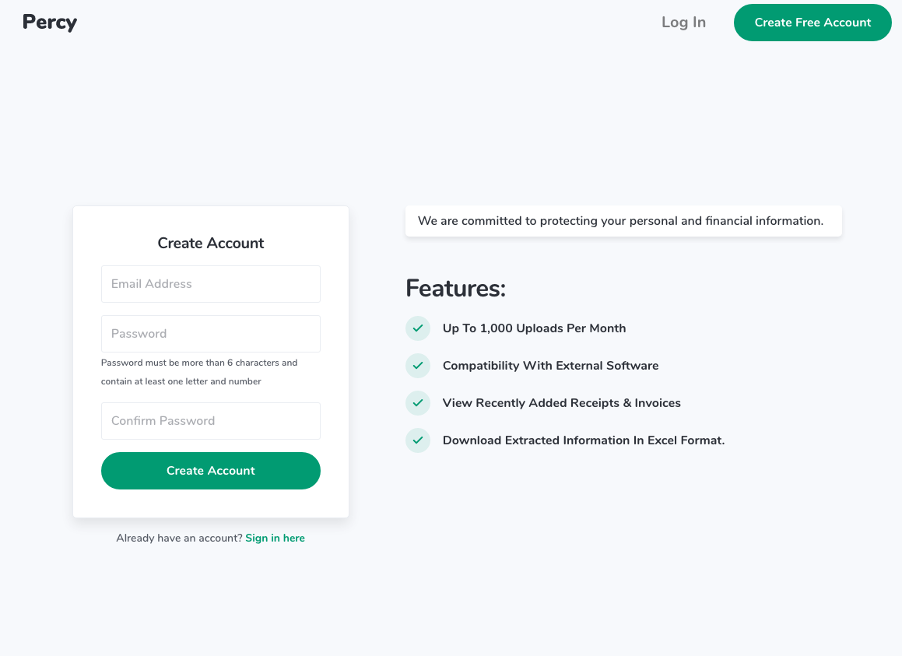
The Sign Up Page (With Working Account Verification Tokens And Forgotten Password Reset)
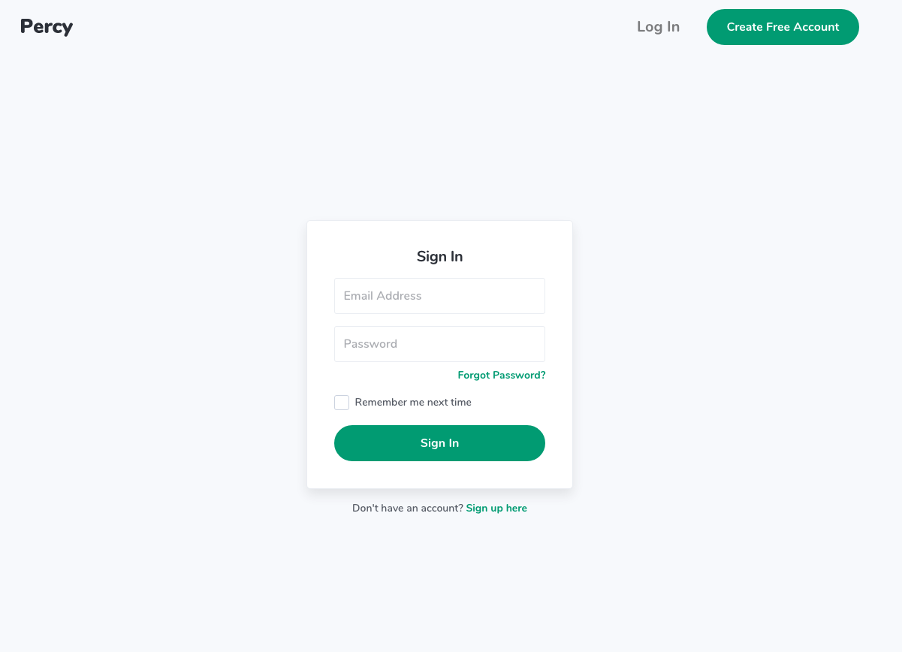
The Log In Page
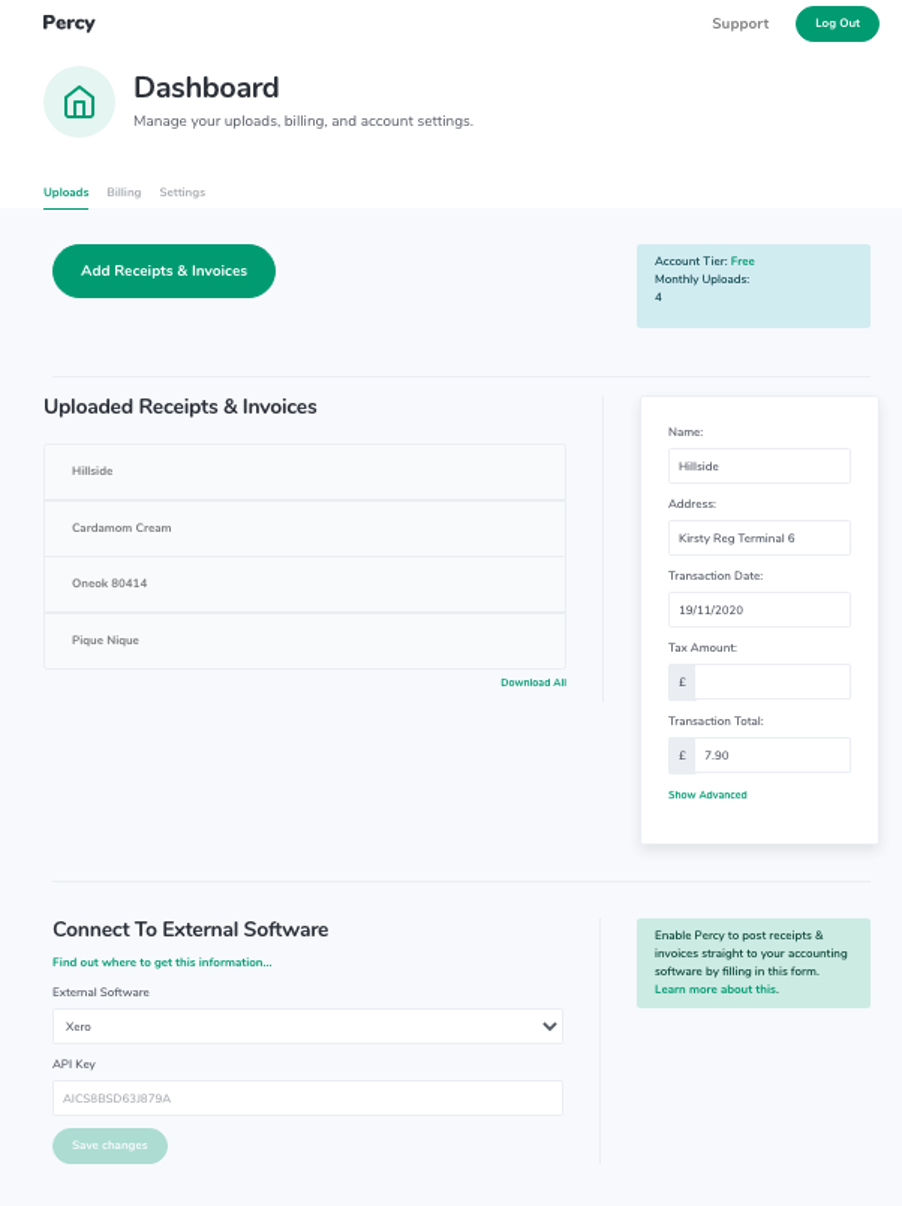
The Dashboard Page

On the dashboard you can view previously uploaded receipts/invoices or update your billing/account settings. You can also download previously uploaded receipts as a CSV file that can be opened in Microsoft excel. In addition, you can connect your accounting software package to automatically have the receipts/invoices sent to your accounting software with the extracted information.
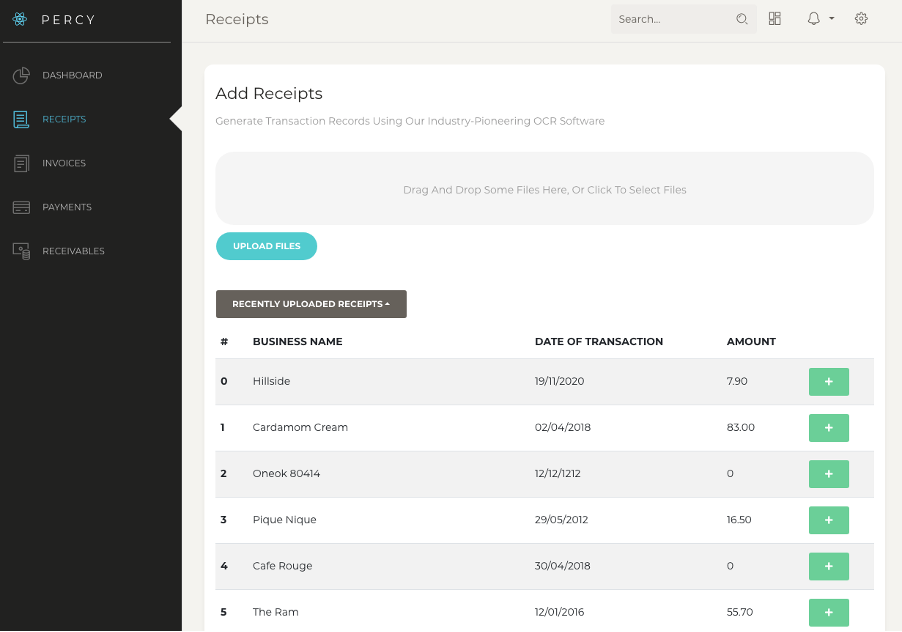
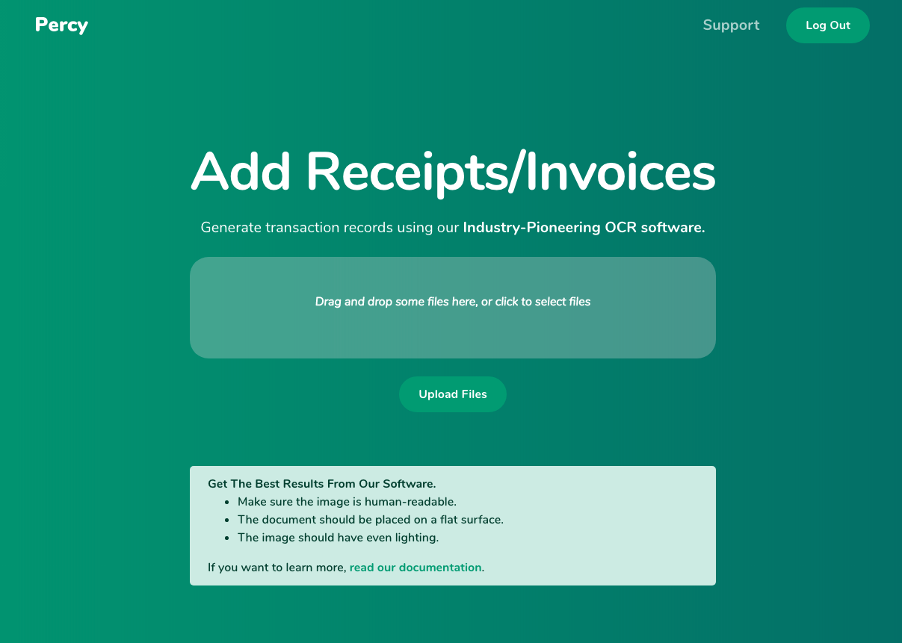
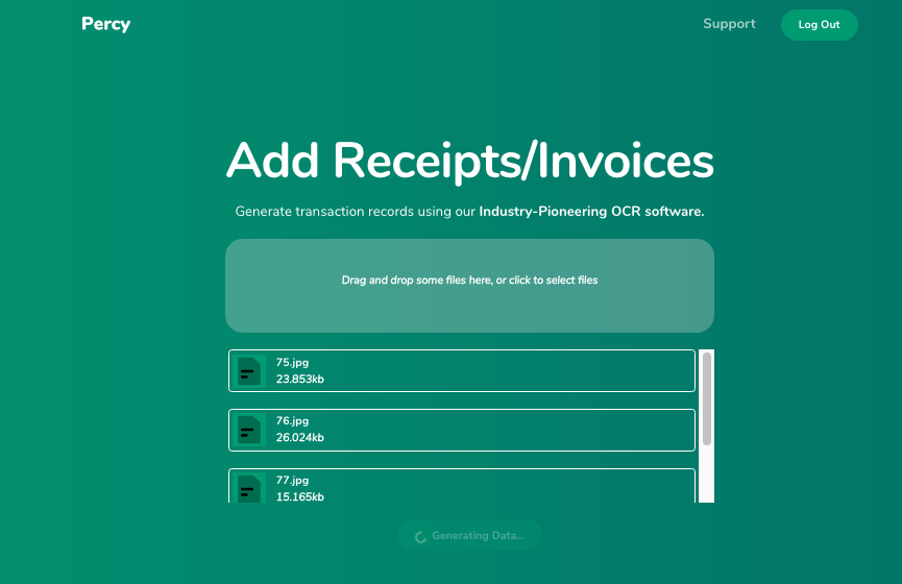
The Upload Page
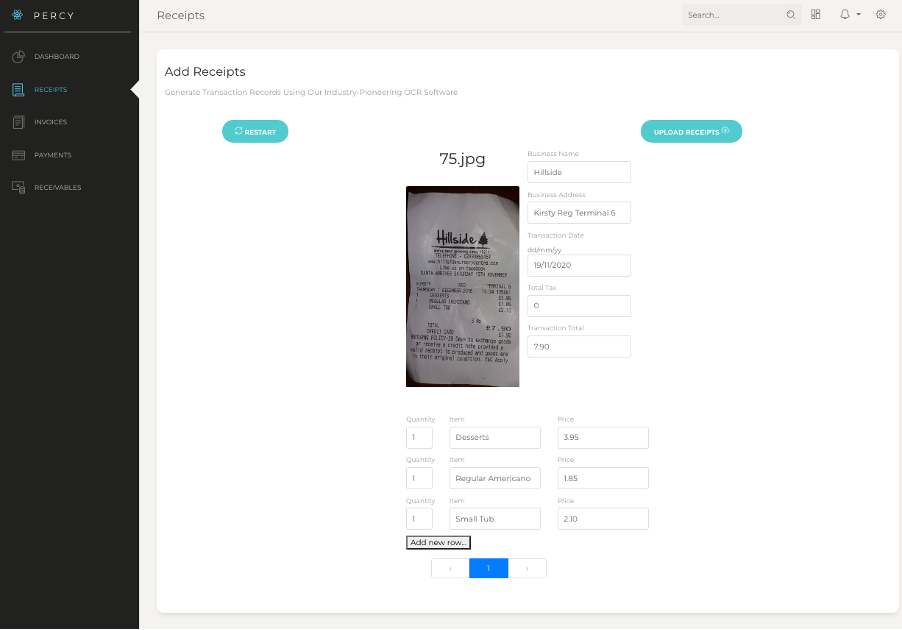
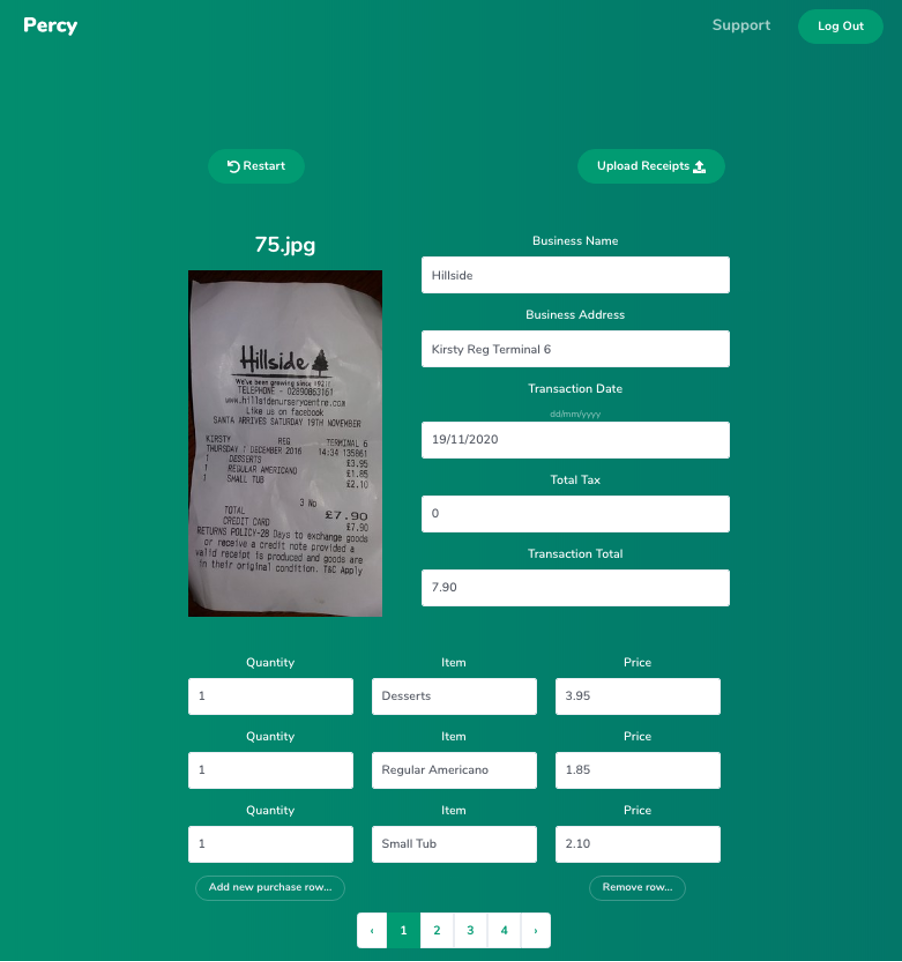
The Extracted Information Page

On the Extracted Information page you can view and edit the extracted information and upload it to your Percy account and/or connected external software.
The Support Page

That concludes this blog post about Percy. I hope you have enjoyed learning about my web app. Don’t forget you can actually go and see it in action here. If you have any questions you want to ask me about it, send an email here or contact me via twitter/linkedin. I’ve always got something exciting in the works so stay tuned for my latest endeavour.
Building An Ensemble ML Trading Bot And The Infrastructure Behind It To Make Live trades On The Stock and Forex Market [Python, Tensorflow, Keras, Interactive Brokers, Metatrader]

Around the end of 2019 I had gotten very interested in building machine learning models. I was particularly fascinated by Google’s work on Alpha Zero which uses reinforcement learning to train a hyper-intelligent model quickly. In my second and first year of university, I had spent a lot of time learning about the financial markets and how to create an optimal investment portfolio and profits from shorter-term trading. Following my success in my university’s trading competition, where I placed first by returning 12.01% in 90 days, I had started experimenting with quantitative finance on websites such as Quantopian and CloudQuant. When I discovered that generating alpha from news sentiment and historical stock price movement required the latest technologies and these platforms did not support downloading stock-price minute data or machine learning libraries, I set off to build my own system to trade the market using a very effective type of machine learning model for this application called a random forest classifier.

At this point in time I was really enjoying using jupyter notebooks on google cloud for my machine learning work as it gave me large amounts of computation power that are required for complex machine learning tasks and big data sets. By using google cloud servers I could also have access to the windows operating system which ended up being necessary later on.

In terms of stock choice, I chose to trade relatively small, fast rising stocks on the NASDAQ exchange. I had done some research prior to this project where I had discovered a potential opportunity in this market. I used data from the stock of a software company called Digital Turbine (APPS) when testing my model.

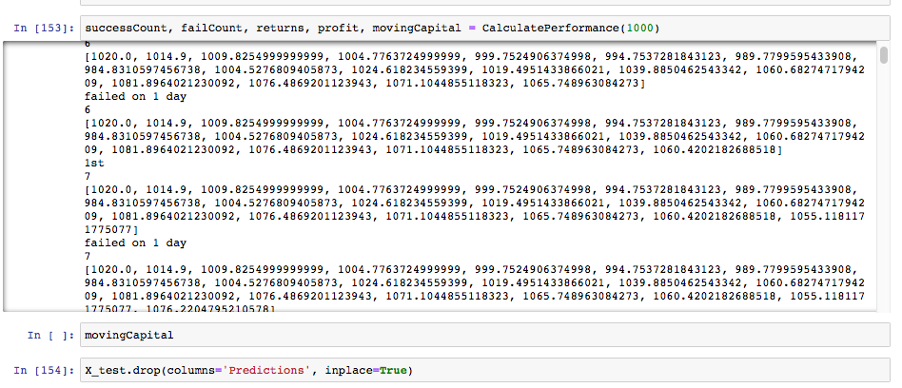
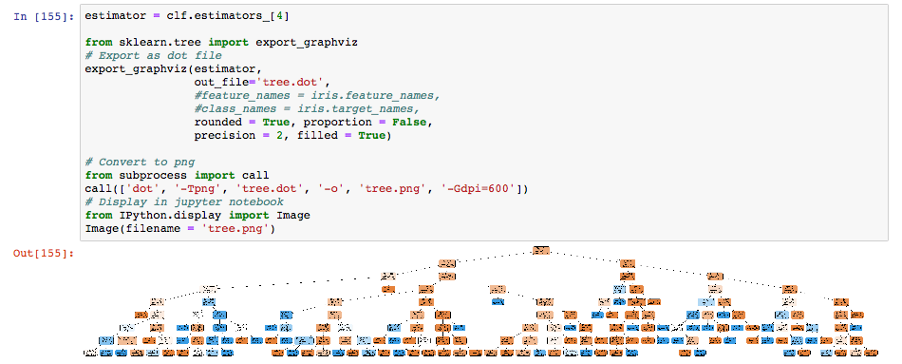
The Model

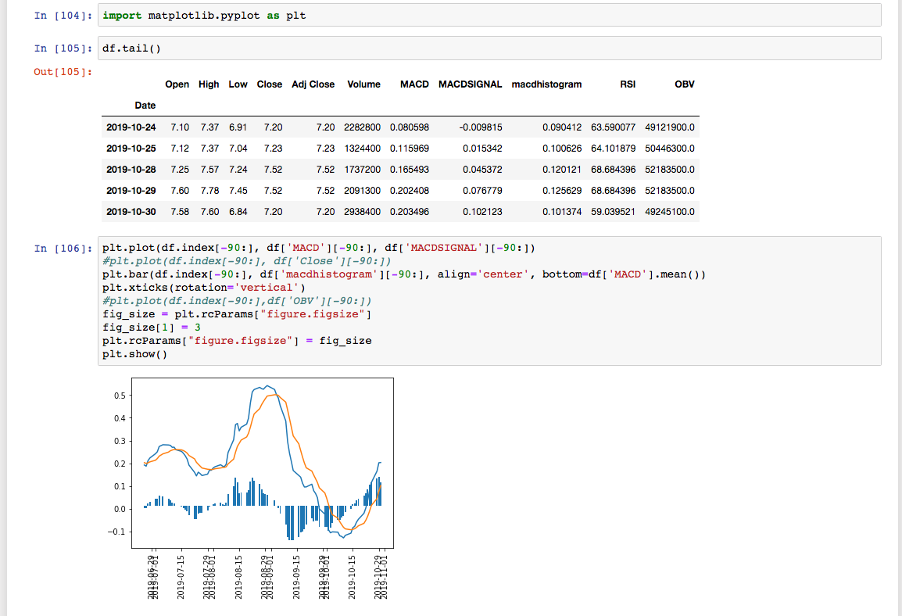
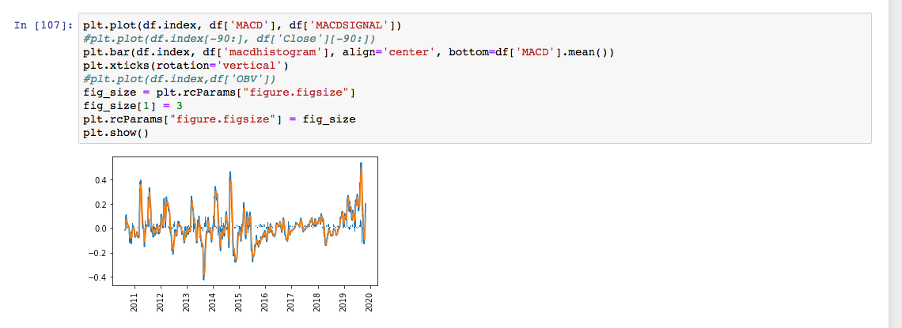
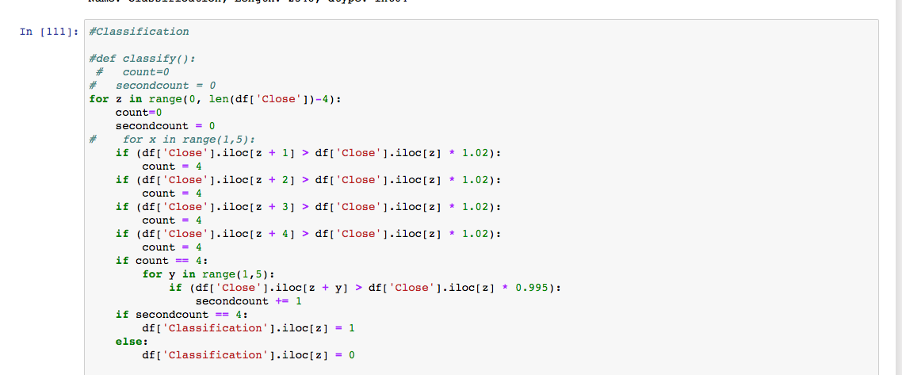
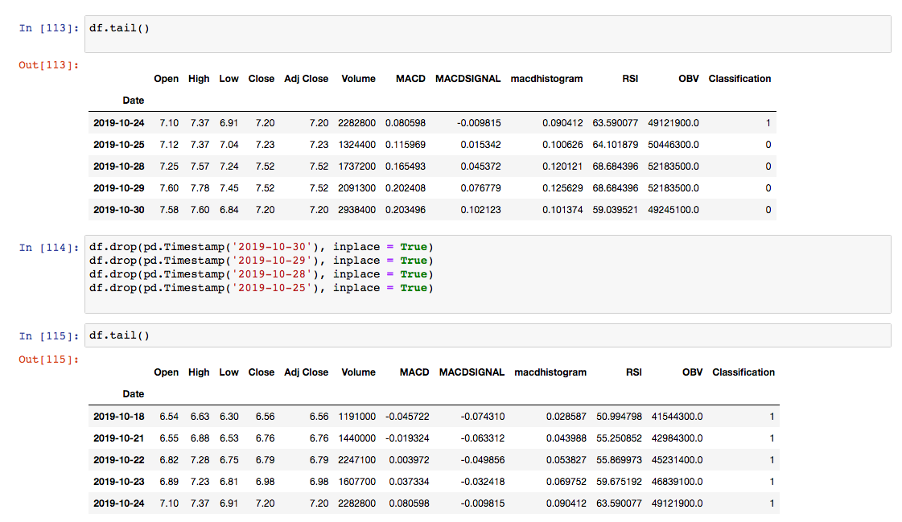
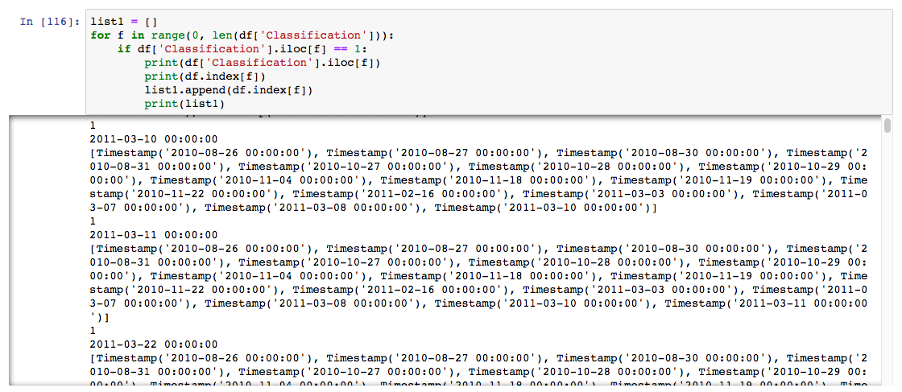
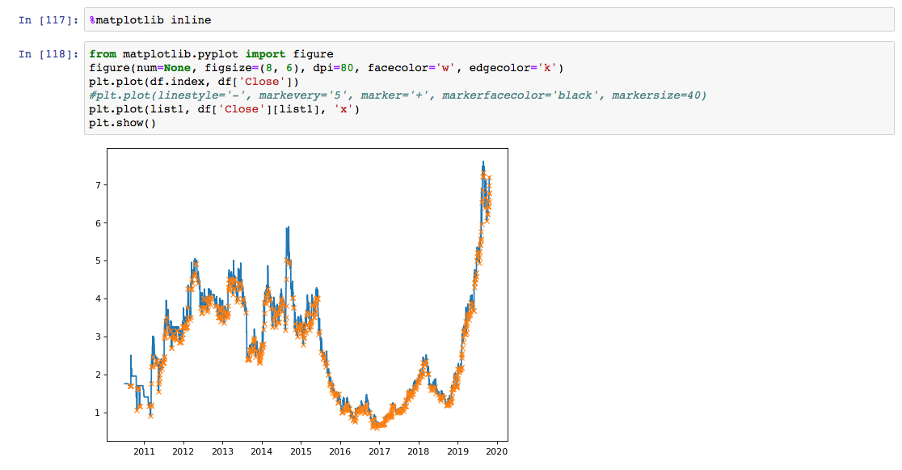
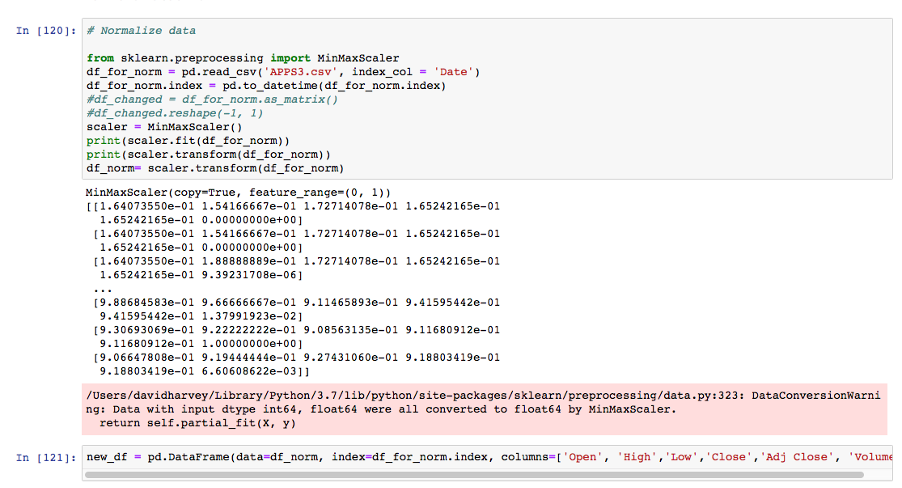
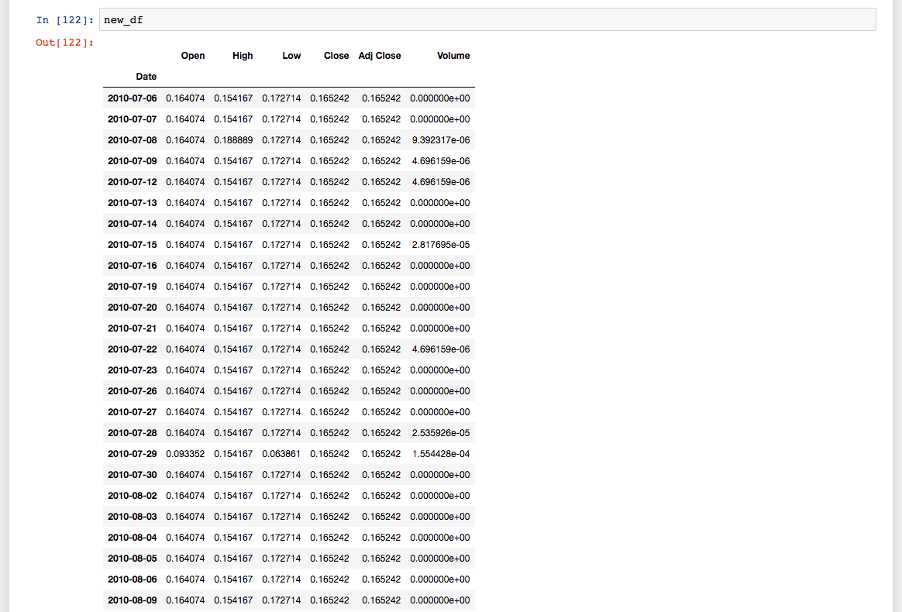
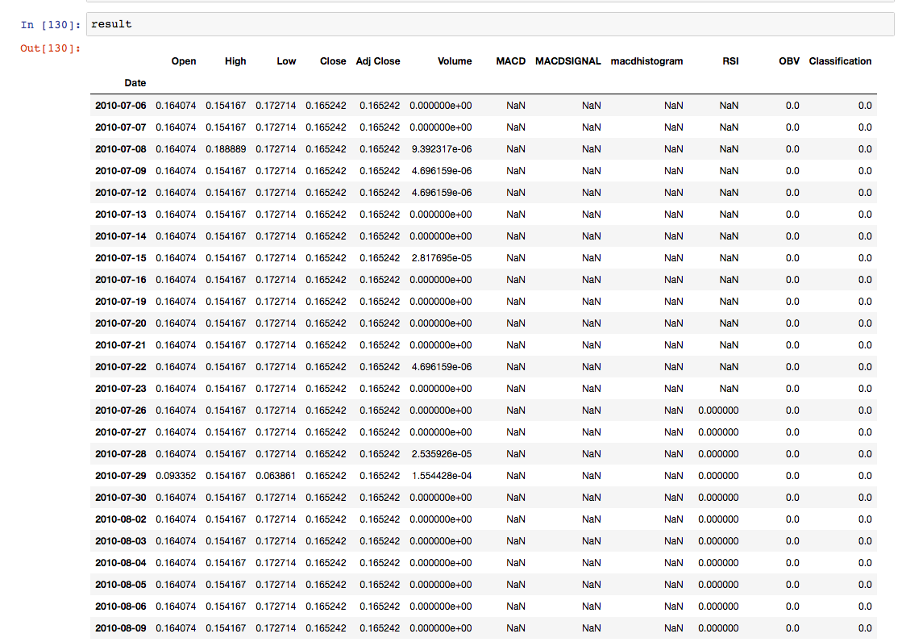
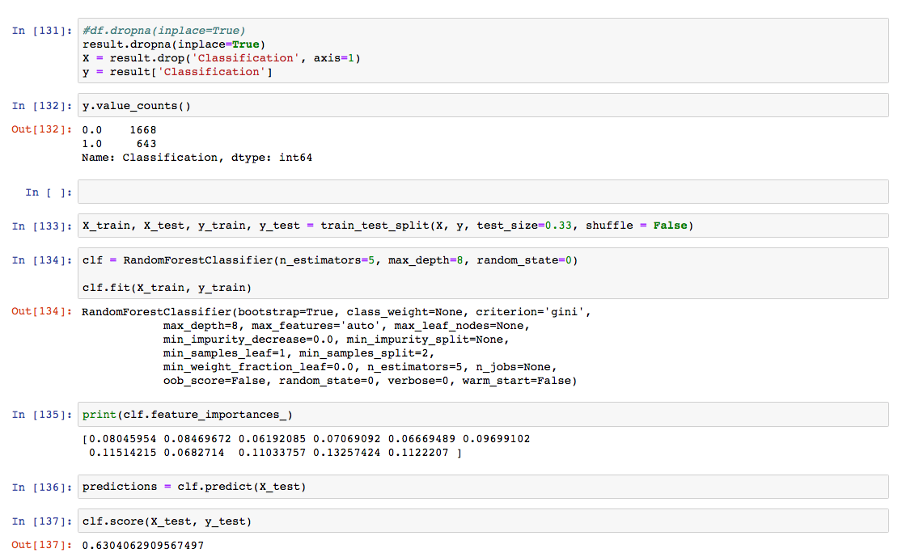
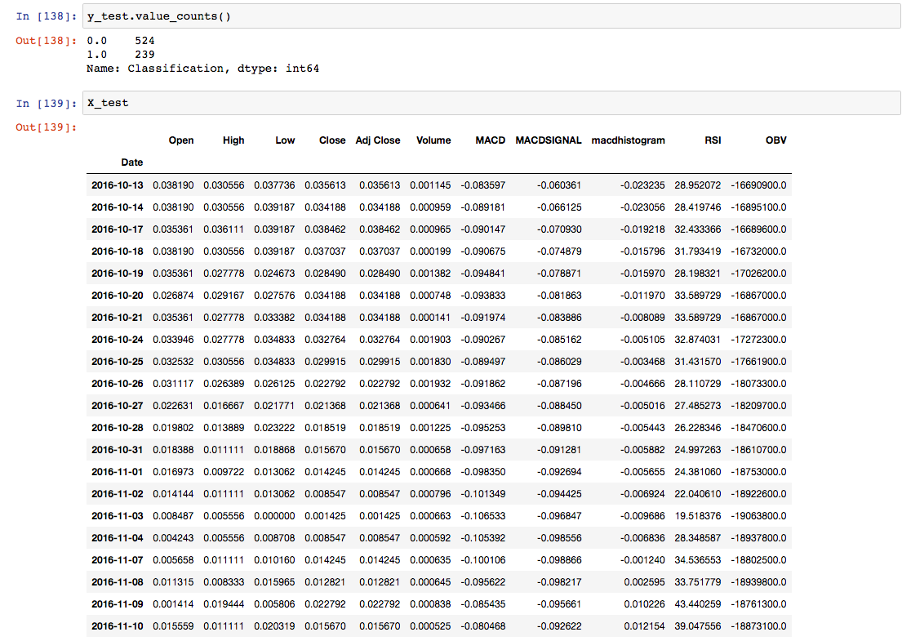
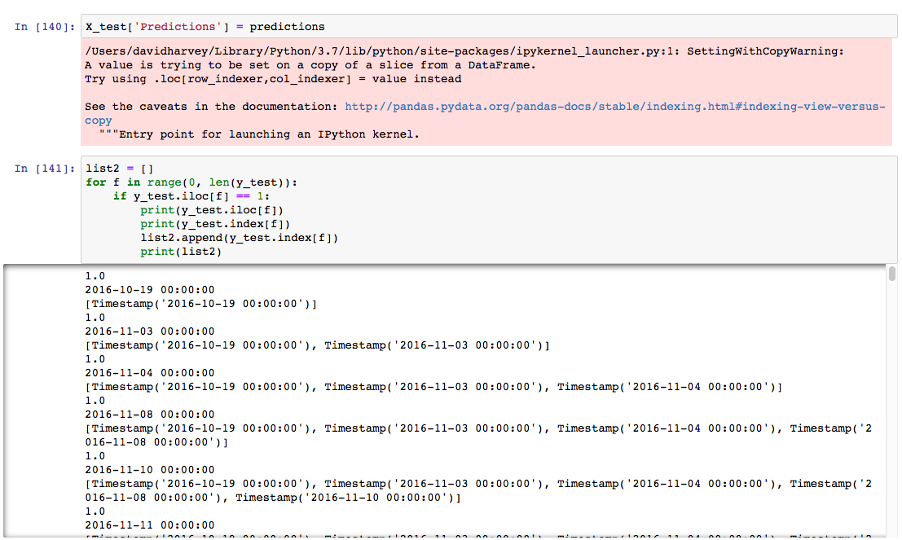
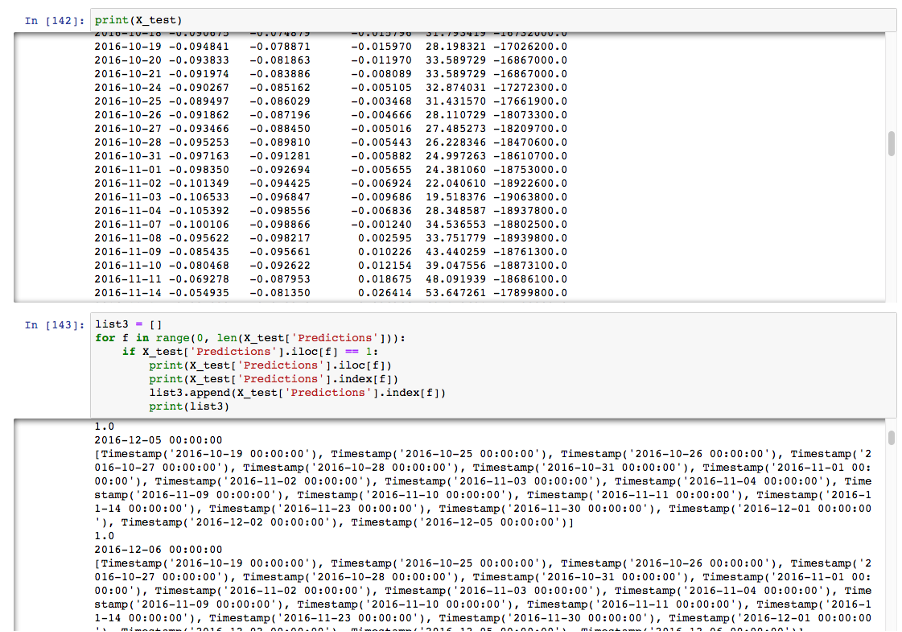
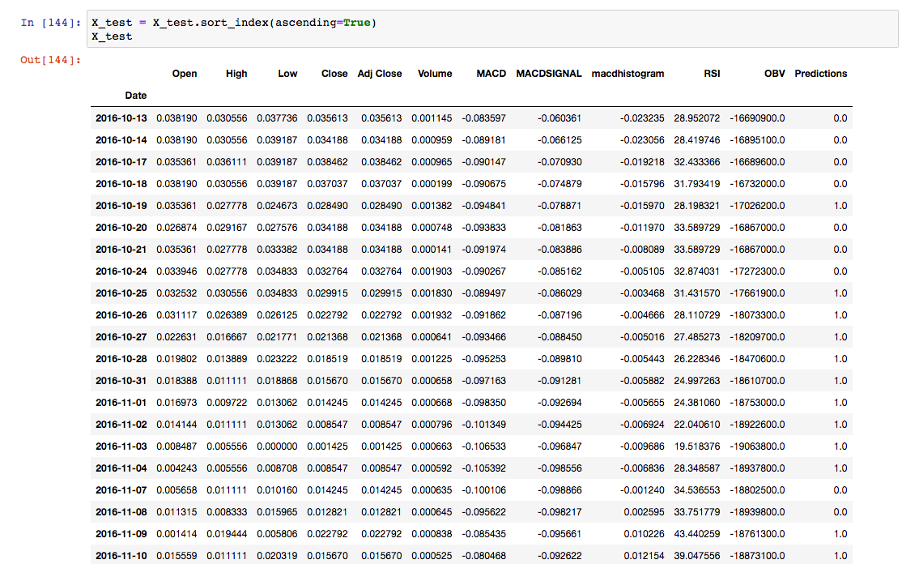
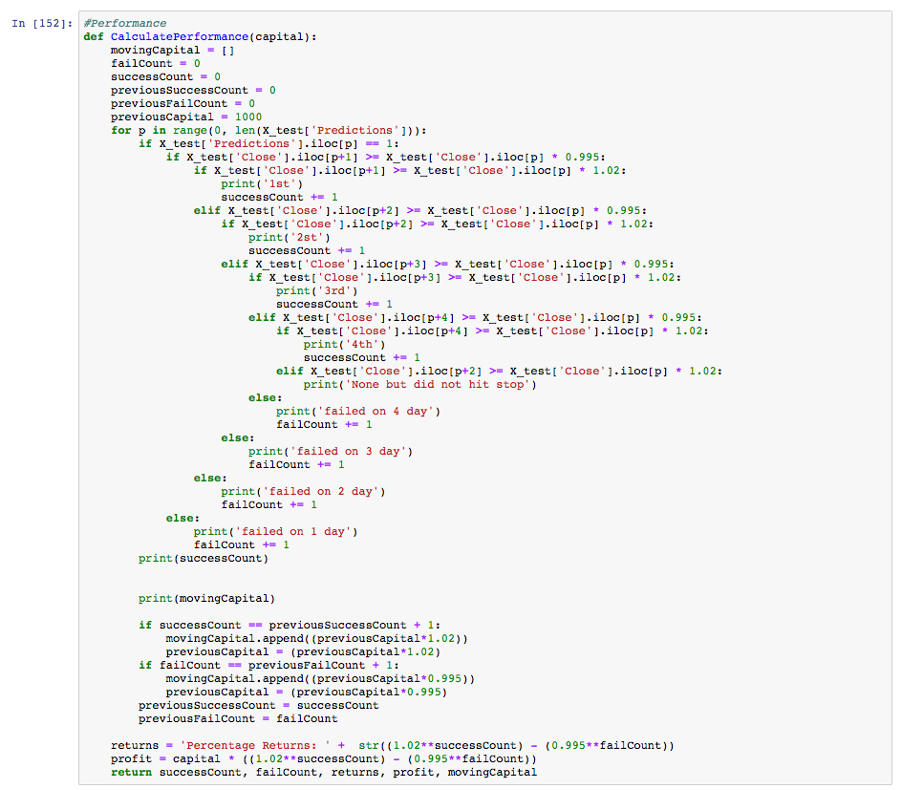
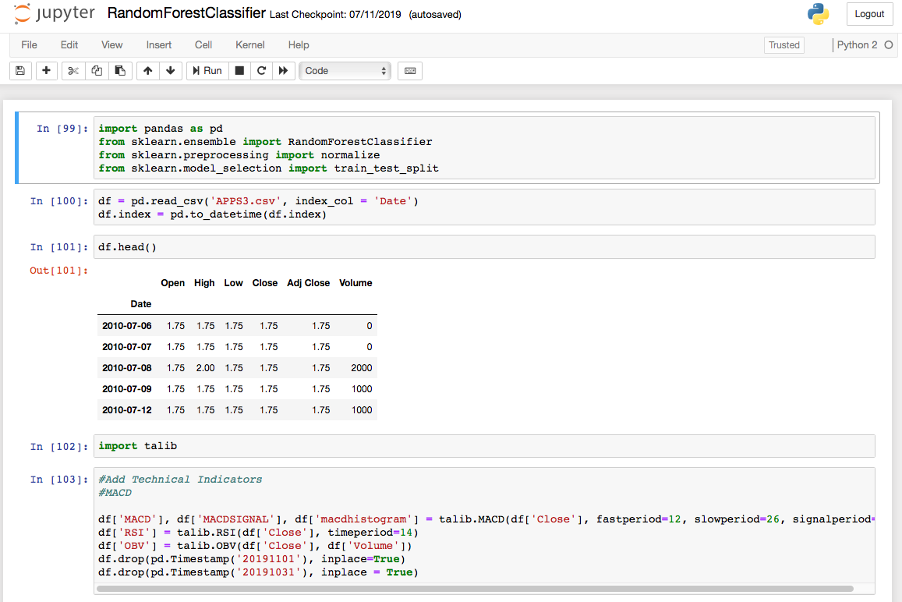
My Jupyter Notebook

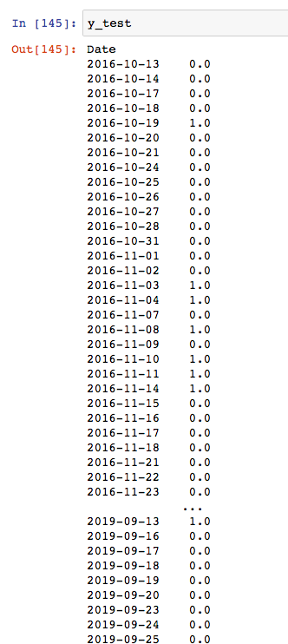
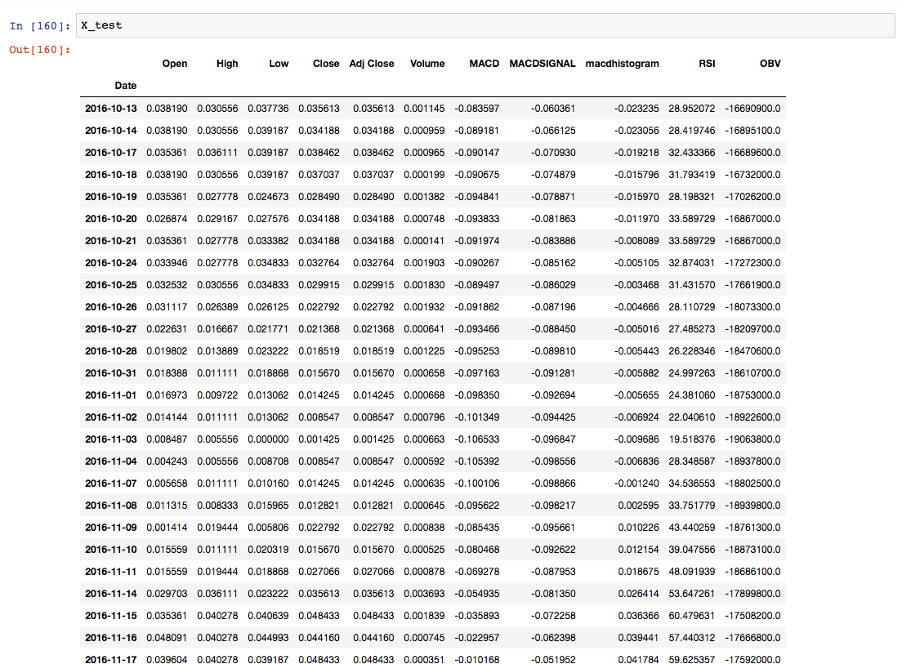
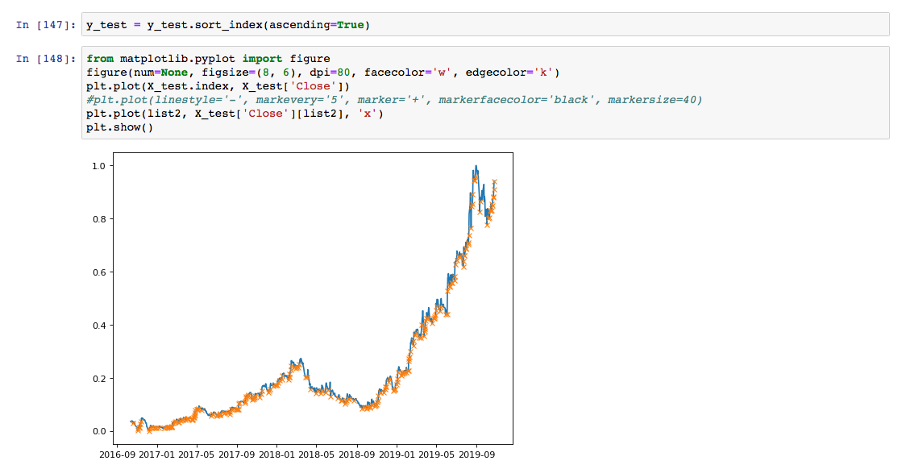
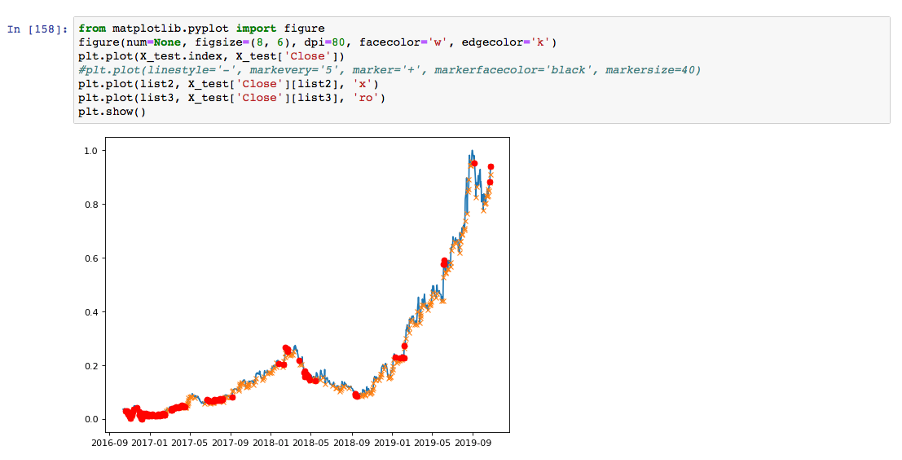
The model was right about buying 63.04% of the time on unseen future stock prices. As each correct buying opportunity resulted in a 2% positive price movement and each incorrect buying opportunity resulted in a 0.5% loss, and these profits and losses were building on each other over a minutely timeframe. I don’t have a screenshot of the return variable in the notebook, but I think it was 1500% in a 30 day period. Brilliant right? Except I had not included the broker’s fees in my ‘CalculatePerformance’ function. I later found out that on these relatively small, fast rising stocks brokers charge around 0.50% as a buying/selling fee. That means -1.00% on every trade, positive or negative. When you take these into account, the system is not profitable at all anymore. Despite this I set out to build the infrastructure to carry out live trades using this model because I thought it was a cool project even if I wasn’t going actually use the system to trade with money.

The Infrastructure

Unfortunately, I did not take any screenshots of the infrastructure in use on my google cloud windows server so won’t be able to show any pictures which is a shame because it looked pretty cool.

Interactive Brokers Trader Workstation

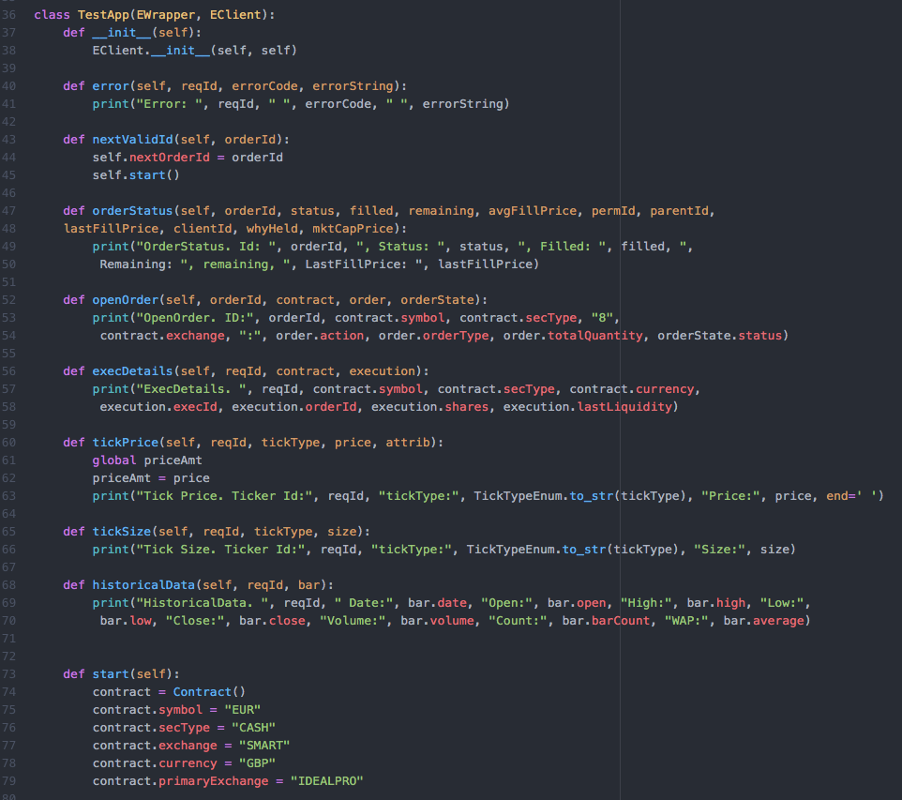
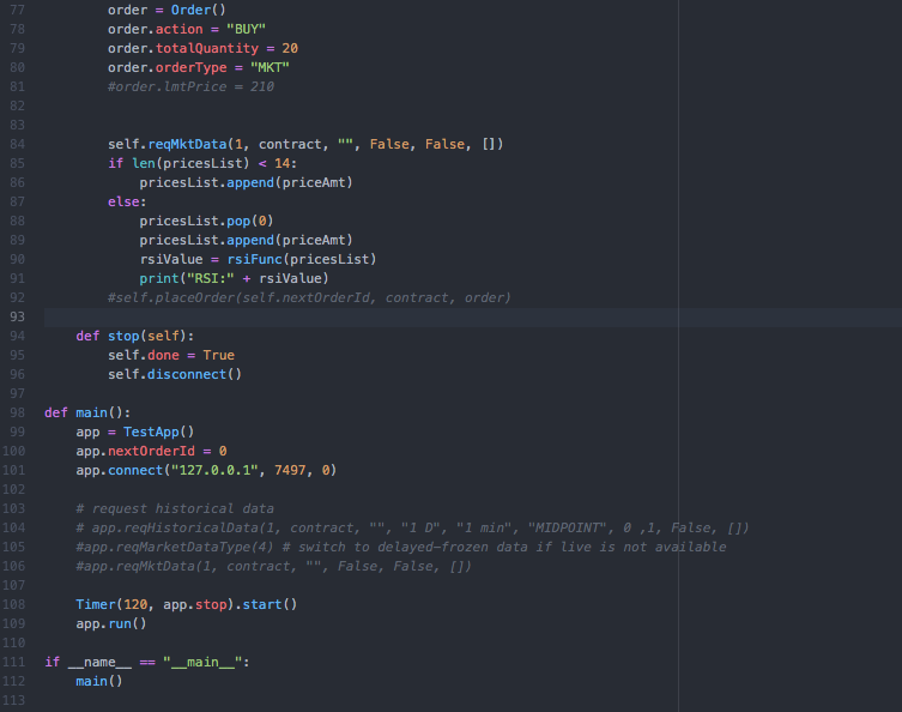
I wanted to trade stocks that had been rising for at least the last three months and had large percentage moves during the day. These were more likely to keep rising and there was more earning potential after deducting the cost of the broker spreads. For this reason, I needed a broker that allowed users to trade stocks using an API. After a lot of searching I found out that Interactive Brokers allowed users to do this through their trader workstation API. The TWS API runs a server that receives and sends messages to the trader workstation client. The code for it looks like this:

The TWS API

Adding the random forest classifier model to this was as simple as importing the pickle file and feeding the price data into it, which it would then output a 1 to buy or 0 to not buy. If the stock price rose 2% it would sell automatically and if it dropped 0.5% below the purchase price it would sell automatically.

When I created my interactive brokers account to test my system on live data, I discovered that stock price feeds require a minimum of $2,000 in your trading account. As I just wanted to test my system this was too big of an amount. Slightly disappointed that I didn’t get to see my system in action I took a break from this project.

MetaTrader

A short while later after talking to some people at my university’s investment and trading society which I was the vice-president of at the time, I realised that the forex market does not have restrictions on subscribing to live data feeds as it is a decentralised market. So I started looking for way to use my machine learning model with metatrader.

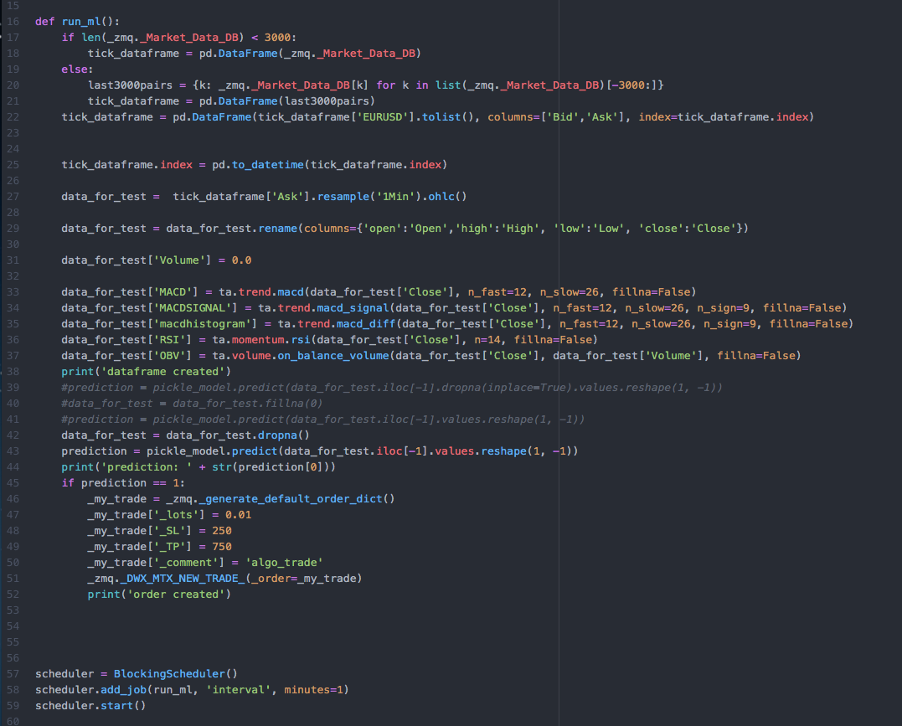
I discovered there was an open-source wrapper library on github called ‘dwx-zeromq-connector’ that connected python3 with MetaTrader4. I wrote a python script that imported my random forest classifier machine learning model as a pickle file and used it to make predictions that lead to opening trades on the metatrader software.

My Python Script

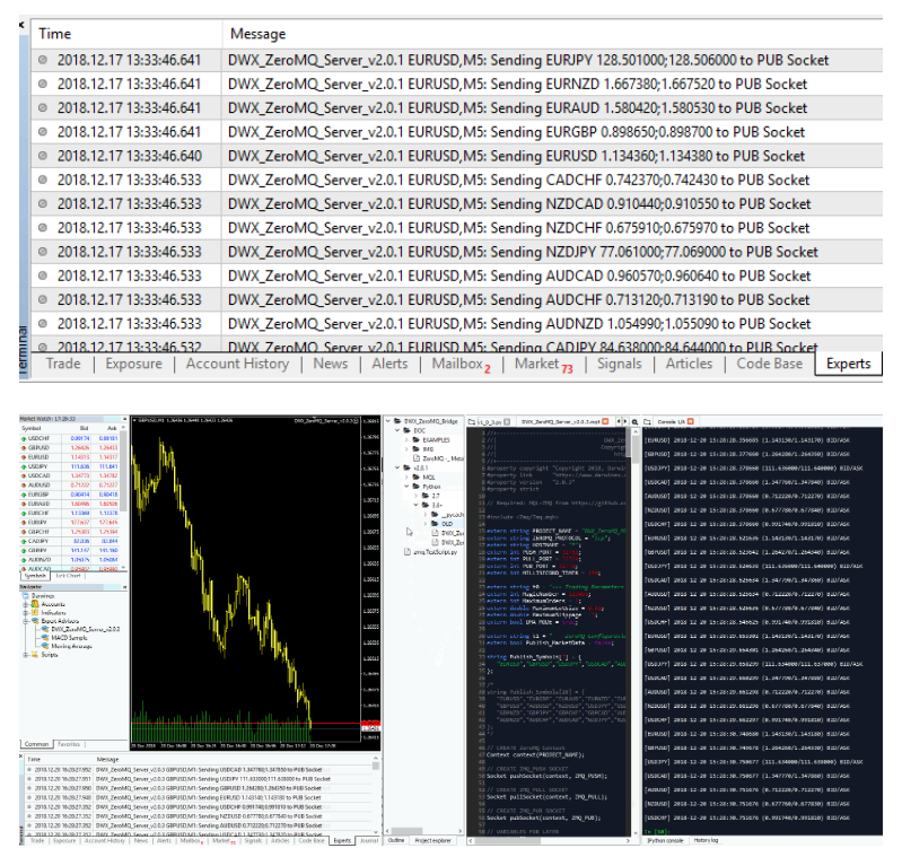
In the end I had something that looked like this.

An Image From The DWX ZeroMQ Connector Github Repository (https://github.com/darwinex/dwx-zeromq-connector) To Demonstrate How My System Looked In Action

Project complete.

I hope you’ve enjoyed reading this post. As always if you want to get in touch, send me an email or message me on twitter.

On-The-Move Language Translation Via A Phone App And A Custom Designed Headset: AI Hardware (C++, Arduino, Python, Flask)

In my second year of university we had a large amount of foreign exchange students from China. I thought it would super cool if I could understand what they were saying and be able to communicate to them in their own language. Of course, the issue was that I didn’t know Mandarin. During my years in high school I had successfully used google translate on my computer to do something similar to this but looking at my computer would get in the way of a flowing conversation. Why couldn’t you design some sort of earphone/speaker combination that you could wear which would send audio to your phone via Bluetooth and then a server which would google translate it and send it back to the wearable device? It would mean you could have real time translation of foreign languages on the go which would be useful for tourists, businesspeople working in a professional capacity, or those looking to surprise/impress others like myself. So, I set to work seeing what I could do.

Hardware

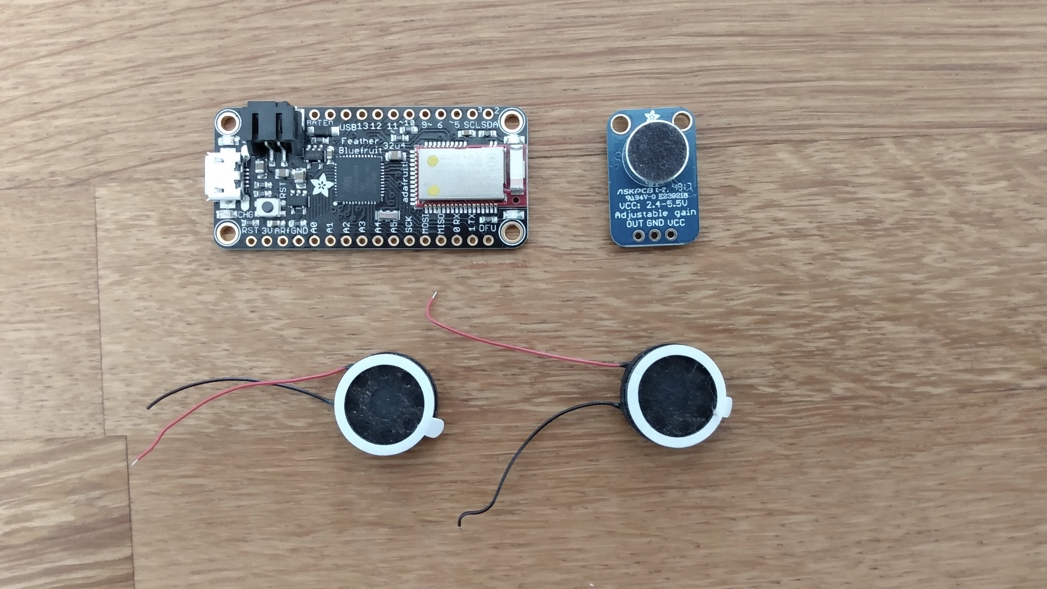
Arduino is a great microcontroller for building prototypes of products. I had previously experimented with it while I was in school and so knew how it worked. For this project I bought an Adafruit Feather 32U4 Bluefruit Loose HDR microcontroller which works just like an Arduino microcontroller. With it I used a breadboard, two speakers, and one microphone.

All the hardware components, small enough to fit in a wearable device.

Software

For this project there were three pieces of software I had to build. Firstly, I had to write the C# script that would run on the Adafuit microcontroller. Secondly, I had to build an android phone app that would run on my phone. Thirdly, I had to build a python flask server that receive audio, translate it and send it back. I wanted the system to be able to both translate a foreign language to a native language and also translate a native language to a foreign language.

C++ Script

This script must be able to receipt the Analog input of the microphone and convert it into a pulse-code modulation (PCM) file. It must then send this PCM file to the phone app. An added complication is that the Adafruit has very limited memory storage so the Analog data must be sent to the SD card before it can be sent to the phone app. In the first versions of the system I created the PCM file by sampling the analog audio stream at a uniform interval and sending a collection of these samples to the phone app. The idea was that the server would add the headers to the PCM file so that it could be read as a waveform audio file (WAV) file which was supported by the language translation API that I used on the server. In the end, this system actually worked in that the server was able to convert the PCM file created from raw analog audio into a WAV that could be played back and translated. The issue was sending the collection of samples to the phone app was very difficult because the Adafruit did not have enough RAM to store a large variable. I should note that the phone app actually could receive the raw analog bytestream from the microphone in real-time via Bluetooth so arguably there was no need to save into a variable on the microcontroller as it could be saved as a variable on the phone app. The problem was that the software I used to create the app, MIT App Inventor, was a visual editor and had limited programming functionality. I did not have time to build an android app in a native language so I sought for other ways to send the PCM file to the phone app.

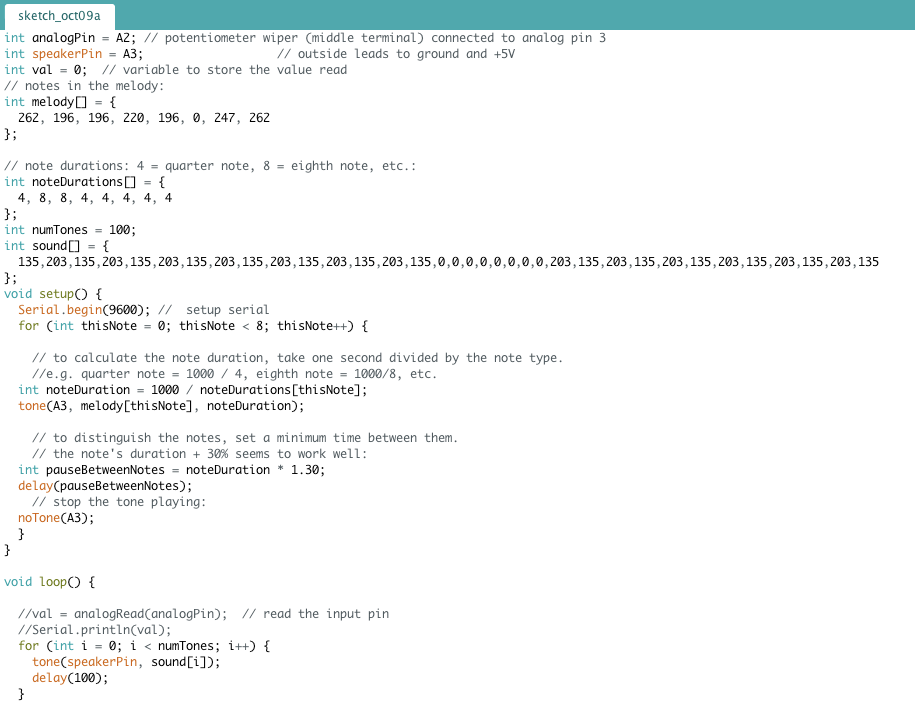
Testing the speakers
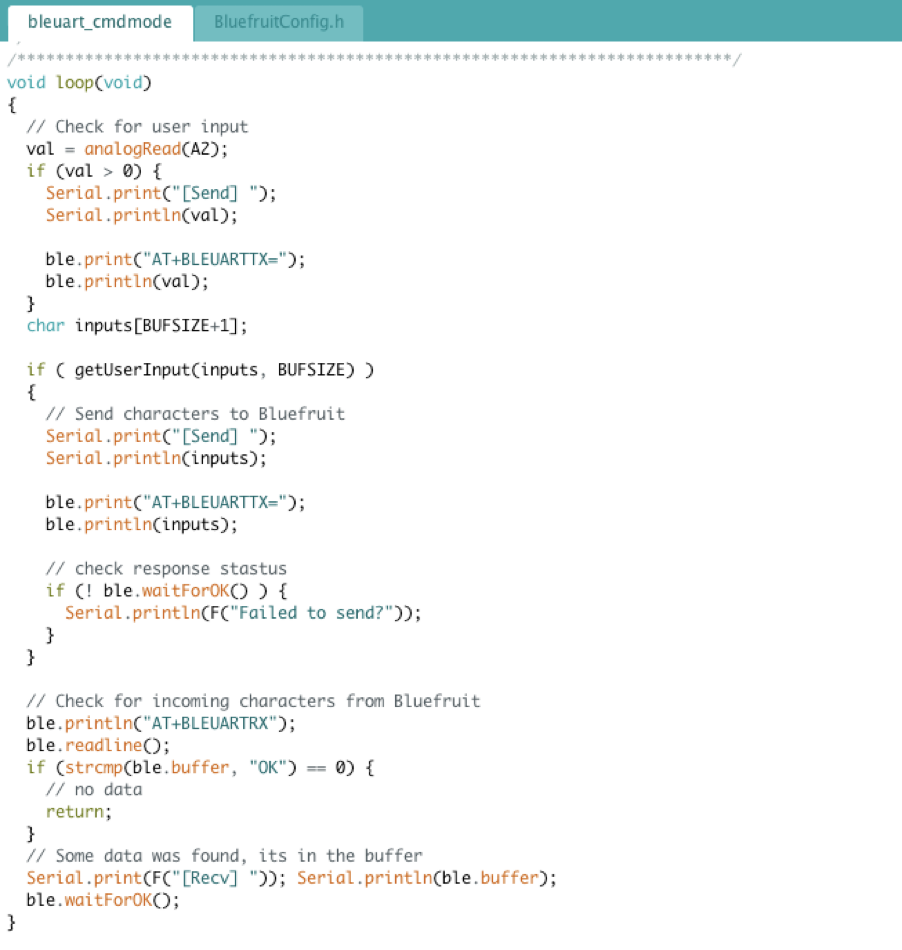
Working with Adafruit’s Bluefruit library

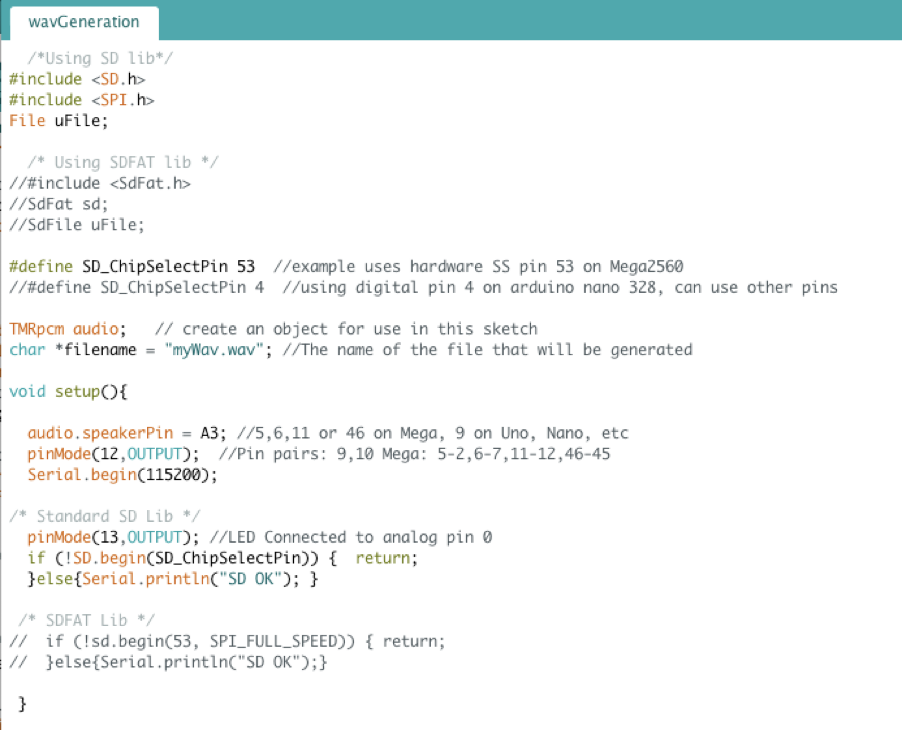
Eventually I found the open-source TMRpcm github repository by TMRh20 (https://github.com/TMRh20/TMRpcm) which provides a solution to this problem. While the repository focuses on playing back PCM/WAV files from an SD card, it also has code for saving analog input from a microphone to the SD card as a PCM file.

Experimenting with the TMRpcm library

If I could use this framework and also find a way to transfer the WAV files from the SD to the phone app via Bluetooth, the C++ portion of my project would be complete.

Android Phone App

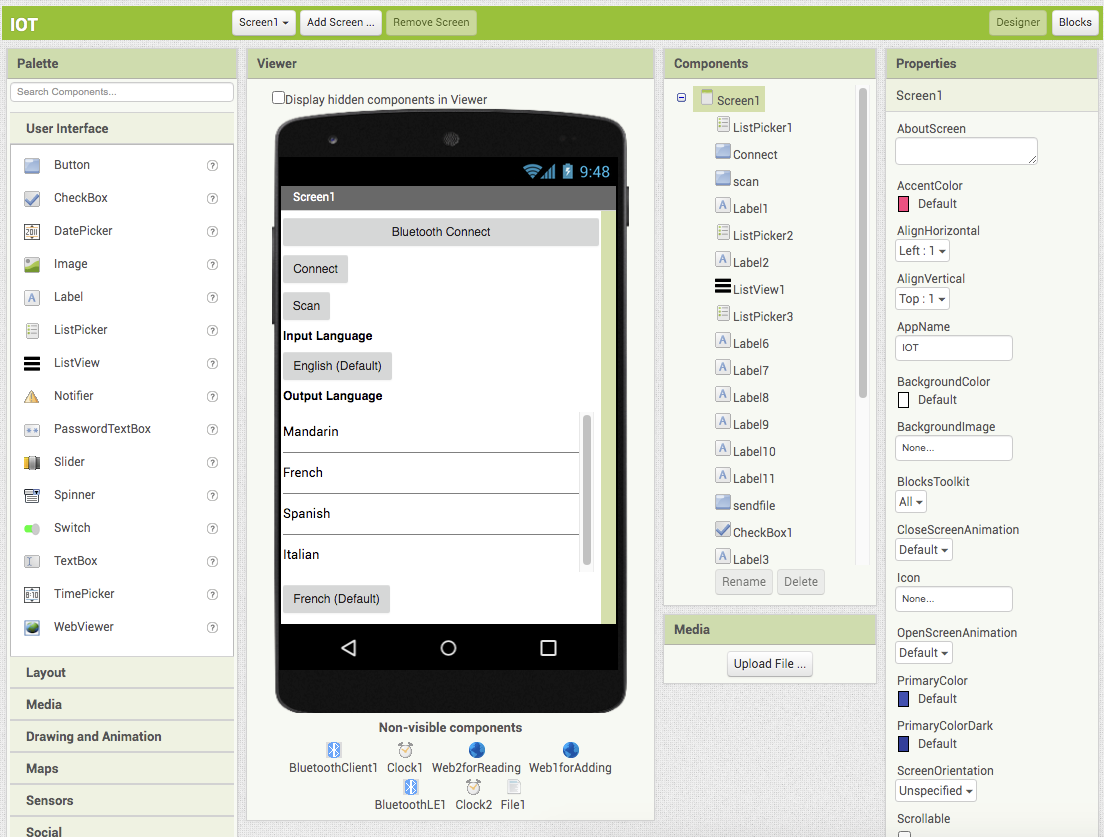
As mentioned previously, I chose to use MIT App Inventor to build this. This is because I wanted to build and test my prototype quickly. I have also used MIT App Inventor to build an android app before while in school and had liked how easy it was to use.

The UI of the App
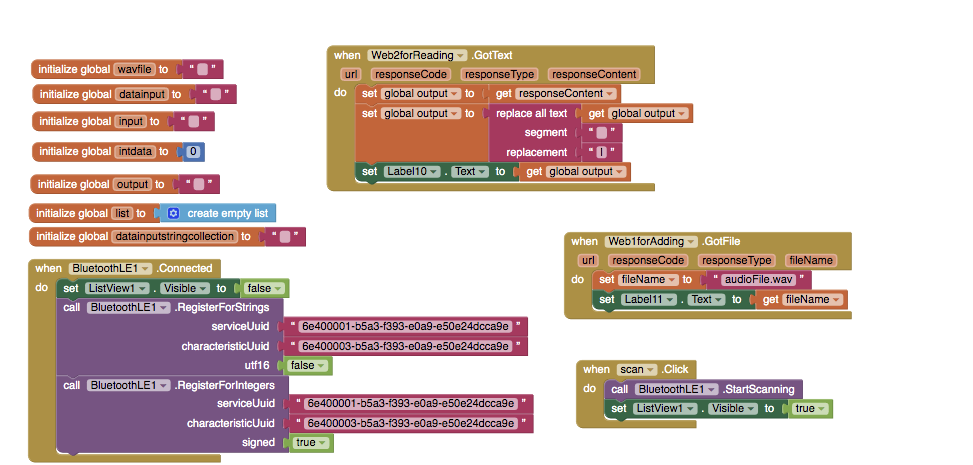
The Block Code of the App

Flask Web Server

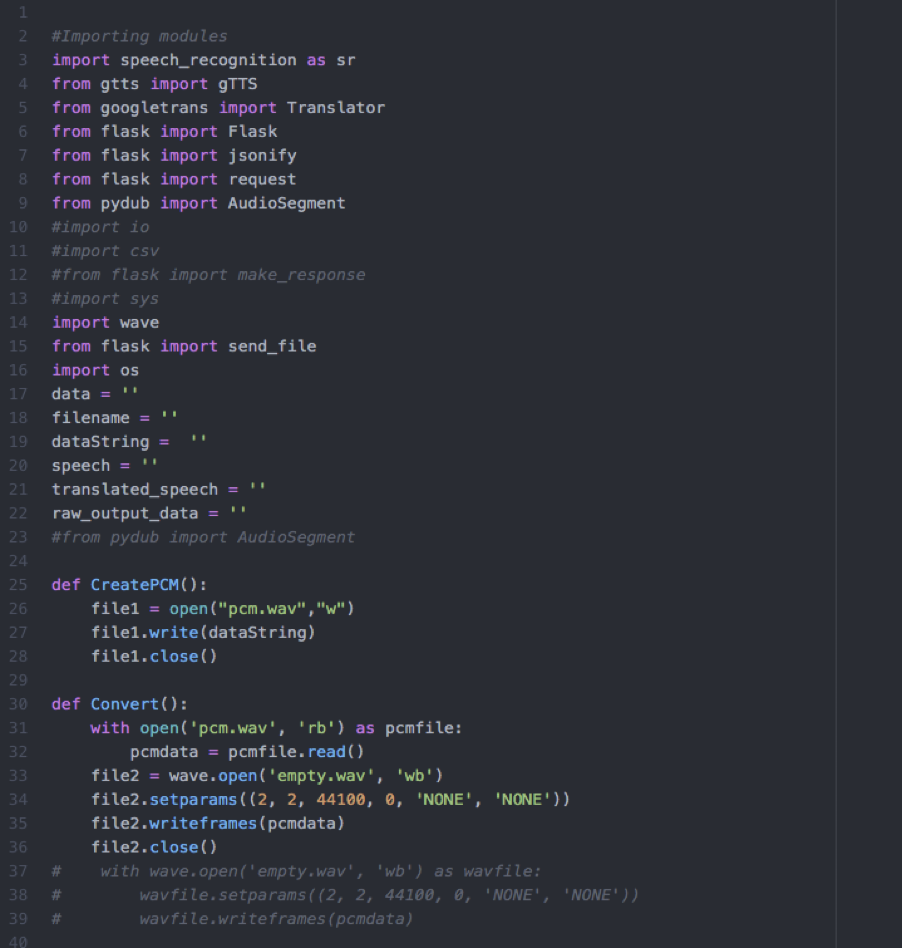
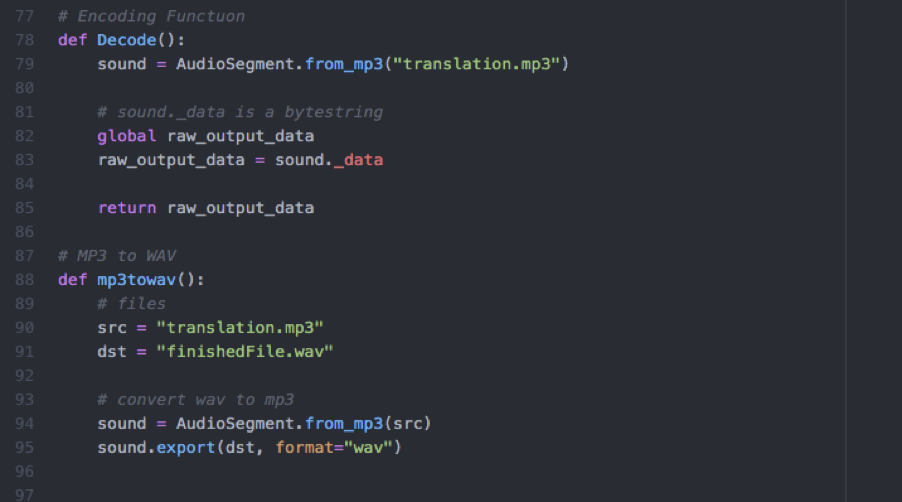
I decided to use a service called PythonAnywhere (https://www.pythonanywhere.com/) for my Flask server as it is free to use. I used the ‘speechrecognition’ library to recognize the language being spoken and convert it to text. Then I used the ‘googletrans’ library to translate the text to the desired language. Next I used the ‘gTTS’ (google text to speech) library to convert the text to into speech saved on an MP3 file. I then converted the MP3 file into a WAV file which I return to android phone app.

The Flask Web Server

That was my work attempting to build an in-ear language translation device. I certainly learnt that writing software for audio is complicated and very under documented in public libraries. Nevertheless, if I had managed to get the Adafruit microcontroller to work as intended I think that the device would work. Whether it would be able to translate fast-moving conversation consistently at a distance is another question entirely.

Thanks for reading. If you want to get in touch, send me an email.